Getting Started
Get up and running with Miren in minutes.
Two Contexts: Server and Client
Miren runs in two places. The server is the Linux machine that hosts your applications. The client is wherever you work: your laptop, a CI runner, or even the server itself. Most miren commands are client commands that talk to a remote server, but a few (like miren server install) run directly on the server to set it up.
Throughout these docs, CLI examples are labeled SERVER or CLIENT so you always know which machine a command belongs on. When both labels appear, the command works in either context.
Installation
Install Miren on both your server and your local machine. Head to miren.dev/get-started for platform-specific instructions and options.
Once installed, verify it's working on either machine:
miren version
System Requirements (Server)
- Operating System: Linux (kernel 5.10+)
- Architecture: x86_64 or arm64
- Memory: 4GB minimum, 8GB recommended
- Storage: 50GB minimum, 100GB recommended
See System Requirements for details on why these numbers matter.
Set Up Your Server
(Skip this section if you are using our demo cluster)
On your server, run the install command to set up the Miren runtime:
sudo miren server install
This will download required components, register your cluster with miren.cloud (follow the prompts), install and start the Miren systemd service, and configure the local CLI to talk to it.
To skip cloud registration and run standalone:
sudo miren server install --without-cloud
Using Our Demo Cluster
Ask for access to our demo cluster, Miren Club, in #miren-club on Discord. Once you have access, log in and add the cluster:
miren login
Follow the prompts to authenticate with Miren Cloud, then bind the cluster to your local CLI:
miren cluster add

Select a cluster to bind:
   NAME   ORGANIZATION   ADDRESS
▸  club   Miren Club     34.27.122.56:8443 (+6)
Deploy Your First App
Let's deploy a real app so you can see the full flow. Clone the sample apps repo and navigate to the demo app:
git clone https://github.com/mirendev/sample-apps.git
cd sample-apps/demo
This is a small Bun web app that's already configured for Miren. Before deploying, you can preview what Miren detects:
miren deploy --analyze
This shows the detected stack, services, and how each service will be started. When you're ready, deploy it:
miren deploy
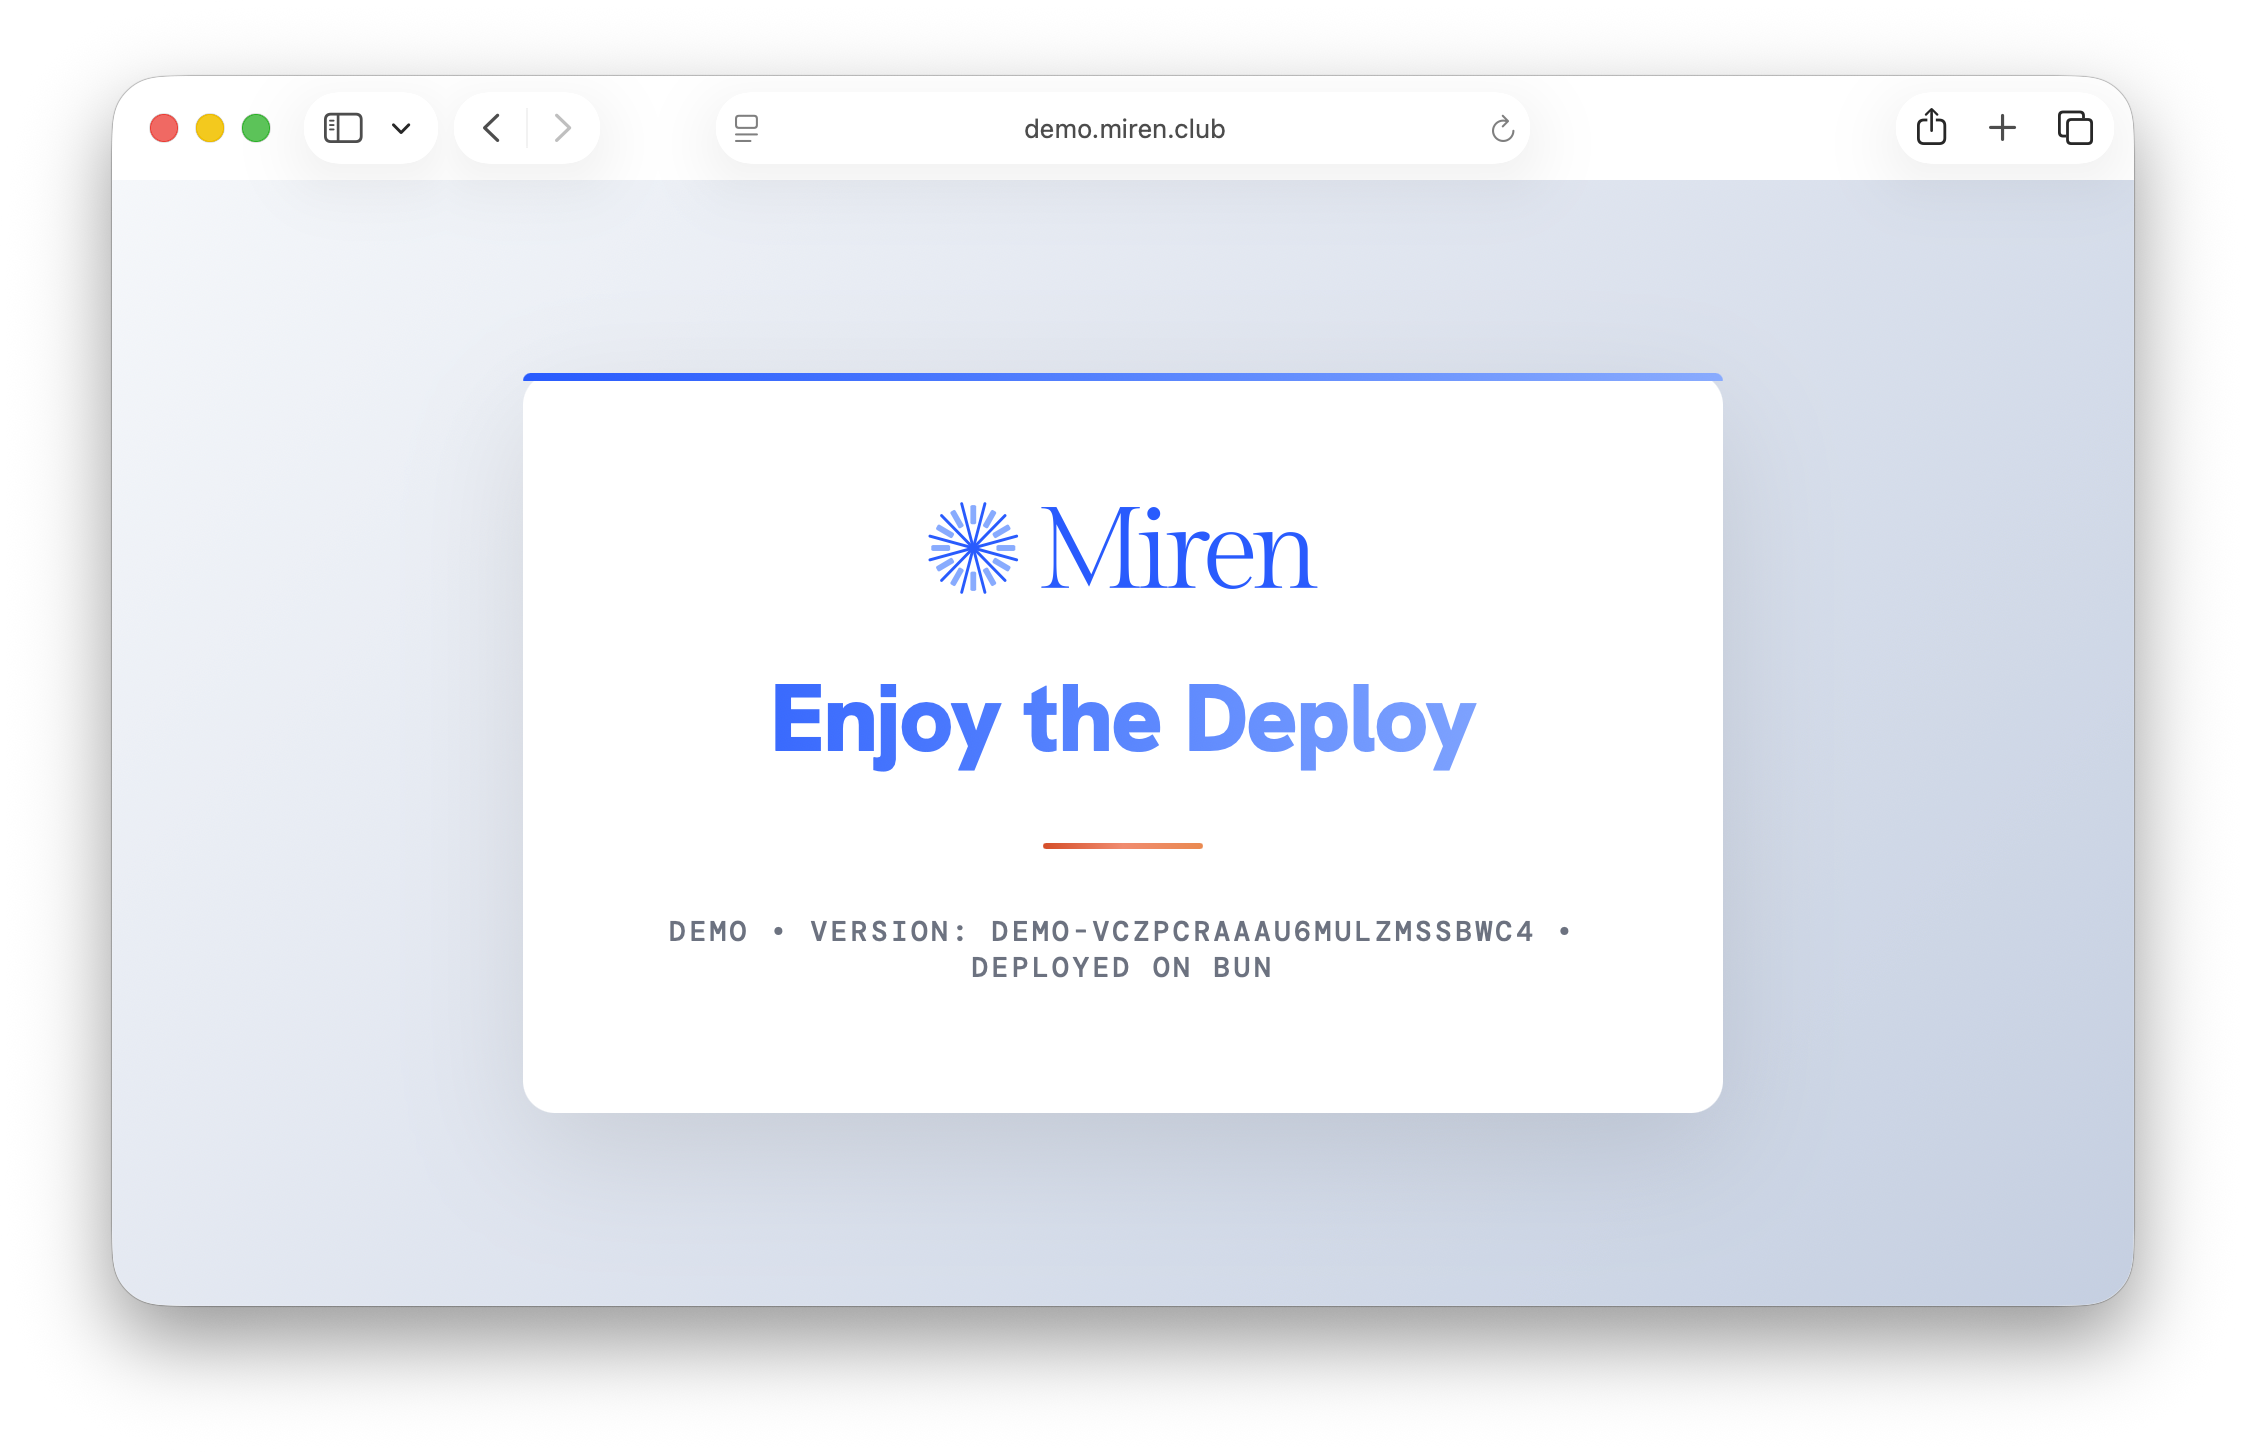
✓ Deploying: demo → club
✓ Upload artifacts (0.1s) - 13.4 KB at 180.5 KB/s
✓ Build & push image (7.8s) - 9 steps completed
Updated version demo-vCZpcrAAaU6mULzMSSBwc4 deployed. All traffic moved to new version.
No routes configured for this app.
To set a hostname, try: miren route set demo.cluster-jwomf2l0tn8z.miren.systems demo
Your app is deployed and running! Miren suggests a hostname on your cluster's .miren.systems subdomain. If your cluster is publicly accessible, go ahead and set that route:
miren route set demo.cluster-jwomf2l0tn8z.miren.systems demo
Then open the URL in your browser to see the demo app.
If your server is behind a firewall or on a private network, miren route set will still configure the route, but you won't be able to reach it from outside. You can verify your app is running with miren app list and miren logs instead. See Firewall for details on making your cluster reachable.
See It Running
Check that your app deployed successfully:
miren app list

  NAME   VERSION                        SCALE   ROUTE
  demo   demo-vCZpcrAAaU6mULzMSSBwc4    1       demo.cluster-jwomf2l0tn8z.miren.systems
You can also tail the logs to see requests coming in:
miren logs

S 2026-04-07 10:08:12: Server running at http://localhost:3000
S 2026-04-07 10:08:15: GET / 200 2ms
S 2026-04-07 10:08:15: GET /images/Miren-Logo-Secondary.svg 200 1ms
That's it! You have an app running on Miren.
Next Steps
Now that you've got something deployed, here's where to go depending on what you need.
Deploy your own app. Miren auto-detects Python, Node, Bun, Go, Ruby, and Rust projects. Run miren init in your project to create a .miren/app.toml config, then miren deploy. You can always provide a Dockerfile if you need full control over the build.
Manage multiple clusters. If you have more than one server, use miren cluster to list your clusters and miren cluster switch to change which one you're targeting before deploying.
Configure your app. The App Configuration guide covers .miren/app.toml in depth: setting commands, ports, environment variables, concurrency, and more.
Set up routes. Your first app gets a default route, but additional apps need explicit routing. See Routes for custom domains and path-based routing.
Scale your app. Miren autoscales by default (like Cloud Run), spinning instances up and down with traffic. If you need fixed instance counts for things like databases or workers, see Application Scaling.
Add persistent storage. Disks let you attach storage volumes to services, with automatic backup to Miren Cloud.
Explore the CLI. The full CLI Reference documents every command and flag.
Get help. If something isn't working, check Troubleshooting or ask in #miren-club on Discord.